
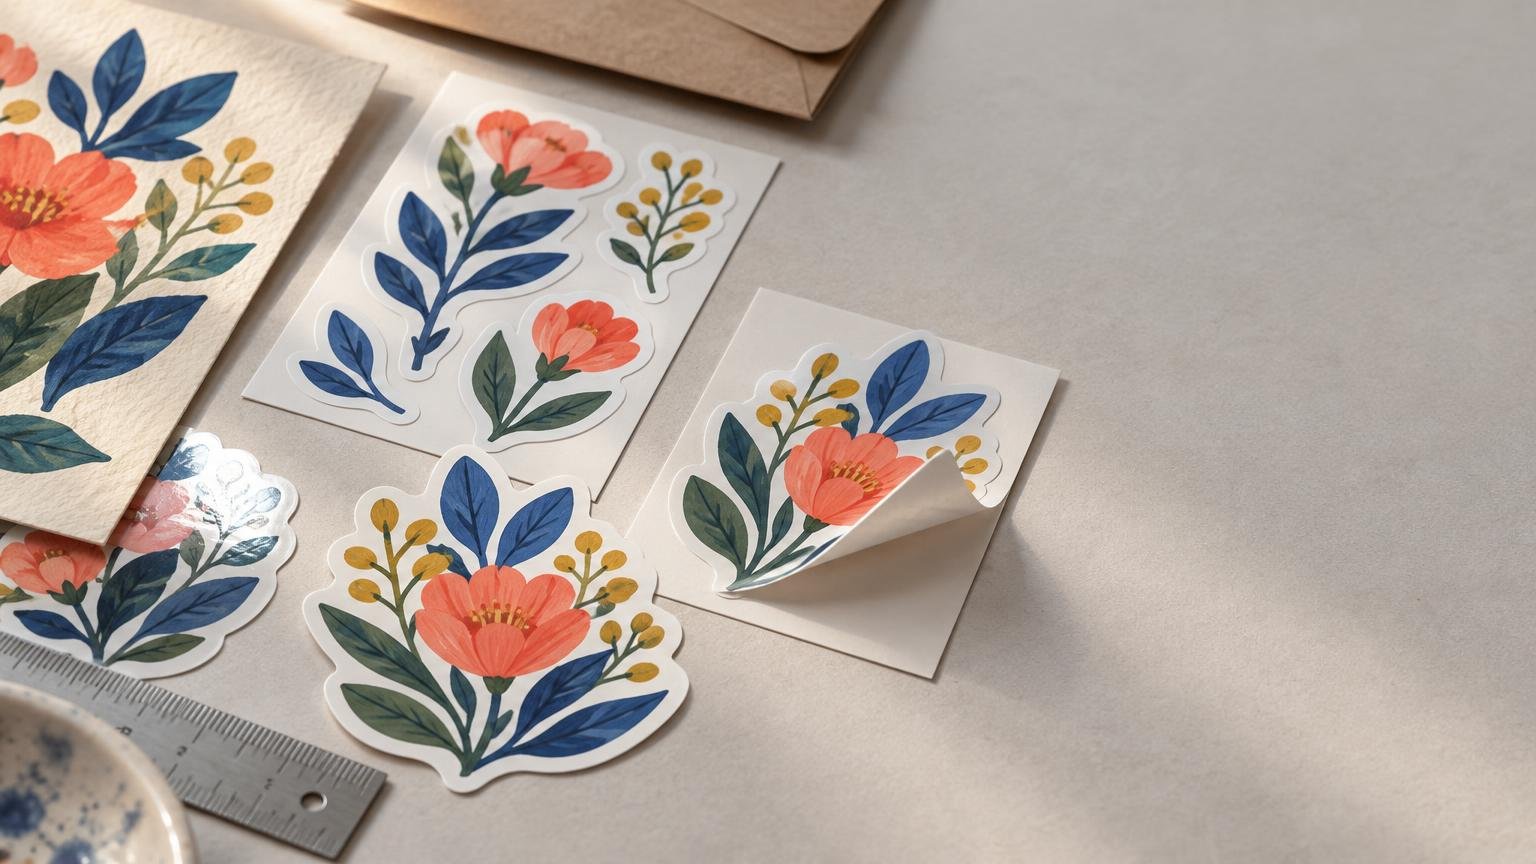
TLDR: The best sticker printing options for artists selling their own work begin with the product, not the printer. Choose die-cut stickers for standalone merchandise, kiss-cut stickers for easier handling, or sheets for coordinated collections. Match the material to the expected use, prepare the artwork to the printer’s specifications, and test a small quantity before buying launch or convention inventory.
A sticker can preserve the personality of an illustration surprisingly well, but only when its shape, surface, color, and scale work together. A printer that produces a lovely matte paper sticker may still be wrong for a design intended for a frequently handled water bottle. Likewise, a durable film sticker can flatten the gentle, tactile character of artwork that would feel more natural on uncoated paper.
The practical sequence is simple: define what you are selling, select a format and material, prepare one production-ready file, inspect a test batch, and then compare vendors capable of reproducing that specification consistently.
Choose the sticker format around how you sell
Format changes both the customer experience and the way the artwork is perceived. Before comparing printers, decide whether the design should feel like an individual art object, part of a collection, or a small extra tucked into another order.
| Format | Best suited to | Main tradeoff |
|---|---|---|
| Die cut | Standalone designs, convention displays and recognizable silhouettes | Exposed edges can make small or intricate shapes harder to handle |
| Kiss cut | Small designs, delicate outlines and stickers that benefit from a backing border | The backing occupies more display and packaging space |
| Sticker sheet | Themed collections, planner art, mini illustrations and coordinated sets | Every element must work at a smaller scale and share the sheet’s production choices |
Die-cut stickers
A die-cut sticker is cut through the printed layer and backing so the finished piece follows the artwork’s outer contour. It is the strongest default for a bold character, logo-like illustration, or distinctive silhouette sold as individual merchandise. Keep the contour readable. Hair-thin projections, deep notches, and clusters of tiny details may be difficult to cut cleanly or may create weak points during handling.
Kiss-cut stickers
A kiss cut passes through the sticker layer while leaving the larger backing intact. That surrounding backing makes a small or intricate sticker easier to peel and protects delicate contours until use. It also gives you room for a title, signature, website, or simple instructions without adding those elements to the sticker itself.
Sticker sheets
Sheets are useful when the relationship between several images is part of the appeal: a set of botanical details, expressions from one character, or small motifs drawn from a larger painting. The sheet should still have a visual hierarchy rather than feeling like unused space filled with leftovers. StickerApp notes that the stickers on one sheet share the same material, finish, and adhesive, so designs needing different surface treatments should be separated into different products.
Match the material to the sticker’s intended life
“Vinyl,” “waterproof,” and “dishwasher-safe” should not be treated as interchangeable guarantees. Actual performance depends on the face material, ink, adhesive, protective layer, application surface, exposure, and handling. Ask what the printer’s claim covers and whether it applies to the exact material and finish in your quote.
- Paper stock suits packaging seals, journaling, stationery and artwork whose warmth or texture matters more than exposure resistance.
- White film-style stock is a versatile choice for saturated illustrations, clean borders and general merchandise expected to receive more handling.
- Clear material lets the applied surface become part of the design, but pale colors and unprinted areas may visually disappear without a white-ink layer.
- Metallic, holographic and reflective materials work best when the specialty surface has a deliberate role in the composition rather than covering every area equally.
- Textured stock can complement handmade-looking work, although very fine marks and low-contrast details may become less distinct.
StickerApp’s material guidance, for example, says its kraft paper is not waterproof. It also warns that fine detail can be less visible on textured or reflective materials and recommends white ink for metallic or transparent options. Those are vendor-specific production notes, but they illustrate why the material name alone is not enough.
When a laminate is worth considering
A clear overlaminate can add protection against scratching and handling, but it also changes the surface and cost. Avery Dennison describes its DOL1000Z clear cast overlaminate as providing scratch protection and supporting printed-graphic color durability for specified materials and applications. Its technical product data also shows why protection claims must be read in the context of a particular material system, rather than assumed for every laminated sticker.
Consider a protective layer for merchandise expected to be rubbed, transported loose, or exposed frequently. For journal stickers, packaging labels, or short-lived promotional inserts, the added expense may not improve the customer’s experience enough to justify it.
Prepare the artwork for print and cutting
Set up the file at its final physical size and use the chosen printer’s current template. Resolution, bleed, safe-area, cutline, file-format and color requirements vary, so a specification copied from one company should not automatically be applied to another.
As one concrete example, StickerApp asks for sticker-sheet artwork at final size and 300 DPI in CMYK, with a 2 mm or 0.075-inch bleed around each sticker. It also says important content should stay out of that bleed area. These dimensions describe StickerApp’s workflow, not an industry-wide rule.
- Choose the final printed dimensions before refining tiny details or type.
- Download the printer’s current template and confirm how it identifies cutlines, bleed and safe areas.
- Extend background color or artwork through the required bleed instead of stopping at the cutline.
- Keep eyes, signatures, lettering and other critical details comfortably inside the safe area.
- Inspect the design at actual printed size, not only while enlarged on screen.
- Export using the requested file format, color mode, layer structure and naming convention.
- Save an editable master separately from the production export.
For a die-cut design, inspect the silhouette with the interior artwork temporarily hidden. If the outline becomes confusing or fragile, simplify it or add a broader border. A white border can separate dark artwork from an unknown background, while a transparent edge may work better when the applied surface is meant to show through.
Treat color as a testable production choice
A bright screen is not a print proof. StickerApp warns that RGB artwork can shift unexpectedly when converted for CMYK printing and recommends CMYK preparation for more predictable output in its workflow. Even so, a CMYK file does not guarantee that every printer, material, finish, and machine will produce an identical result.
Test artwork with neon-like colors, subtle shadow gradients, very dark passages, pale tints, or brand-critical hues. Clear, kraft, metallic and holographic materials deserve particular care because the surface influences the final appearance. White ink may be needed beneath selected areas to preserve opacity, but that underbase can also reduce the visible effect of the specialty material.
Judge the test as a sticker rather than as a miniature art print. The key question is not whether every screen color survives perfectly. It is whether the final object retains the contrast, mood, focal point and recognizable character of the original artwork.
Test a small batch before buying inventory
A modest first run is useful even when its unit price is higher. It converts assumptions about color, scale, finish and cutting into a physical object you can inspect before committing money and storage space to a large batch.
Check samples under ordinary indoor light and, where relevant, daylight. Apply several to clean surfaces representative of their intended use. A single successful application cannot establish long-term durability, but it can reveal immediate problems with scale, peeling, visual contrast, cut placement, or surface compatibility.
- Color: Does the focal color retain the intended character? Are dark details still separated?
- Scale: Can customers understand the image and read any text without close inspection?
- Cutting: Is the border visually even, and are small projections clean and sturdy?
- Surface: Does the finish help the artwork, or introduce distracting glare or texture?
- Handling: Do the stickers peel from the backing without damaging delicate sections?
- Presentation: Do they fit the sleeve, backing card, display tray or order envelope you plan to use?
- Consistency: Are visible differences between units acceptable for a retail product?
Compare the best sticker printing options for artists selling their own work
Once the product specification is defined, compare printers on their ability to make that product—not on the lowest headline price or the longest list of materials. A printer specializing in economical white-film die cuts is solving a different problem from one offering detailed white-ink controls and specialty effects.
A useful shortlist might include a specialist comparison alongside direct quotes and current samples. PrintReviewer’s ranked review of sticker companies for artists considers factors such as print quality, cut accuracy, color, pricing, small-run ordering and turnaround. Treat its rankings as PrintReviewer’s comparative judgment, then verify current specifications, costs and lead times with each vendor before ordering.
When exploring custom sticker printing options, compare the same size, quantity, material, finish and cut style across quotes. Otherwise, a low price may simply represent a thinner specification or a different product.
- Material and finish: Can the vendor make the surface you tested successfully?
- Cut control: Does it support your contour complexity and preferred border treatment?
- Proofing: Will you receive a digital or physical proof, and what can be changed after approval?
- Small-run terms: Is the first quantity manageable for an unproven design?
- Reordering: Can the vendor retain or reproduce the approved setup reliably?
- Schedule: Do production estimates and shipping leave room for inspection before your launch?
- Delivered cost: What is the total after setup, special effects, packaging, tax and shipping?
- Issue handling: What evidence and deadlines are required if the order has a production defect?
Price for the whole selling process
Sticker revenue is not the same as sticker profit. Start with the delivered production cost, then account for packaging, payment or marketplace fees, damaged pieces, samples, event costs and the labor needed to count, pack and fulfill orders. If stickers are shipped alone, include the mailer and postage appropriate to the package rather than assuming every order can travel at the cheapest letter rate.
Keep a simple production record for each approved design: final dimensions, printer, material, finish, quantity, order date, file version and any special instructions. Add photographs of the accepted result under consistent lighting. That record makes reordering easier and helps identify whether a later batch has shifted in color, cut placement or finish.
Order conservatively when a design is new. Reordering a proven sticker usually creates less risk than discounting a large pile of slow-moving inventory. Larger quantities make more sense once sales have shown which format, size and finish customers actually choose.
Choose one specification, then find the printer
Start with one clear product: perhaps a white film die-cut sticker for standalone sales, a kiss-cut version for a delicate silhouette, or a paper sheet for journal users. Prepare it to the selected printer’s current requirements and order enough to inspect without creating a stock problem.
If the sample preserves the artwork’s focal point, feels appropriate in the hand, cuts cleanly and fits your packaging, you have a specification worth comparing and reordering. The best printer is then the one that can reproduce that proven sticker at a sustainable delivered cost and on a schedule that leaves you time to check the work before it reaches customers.