
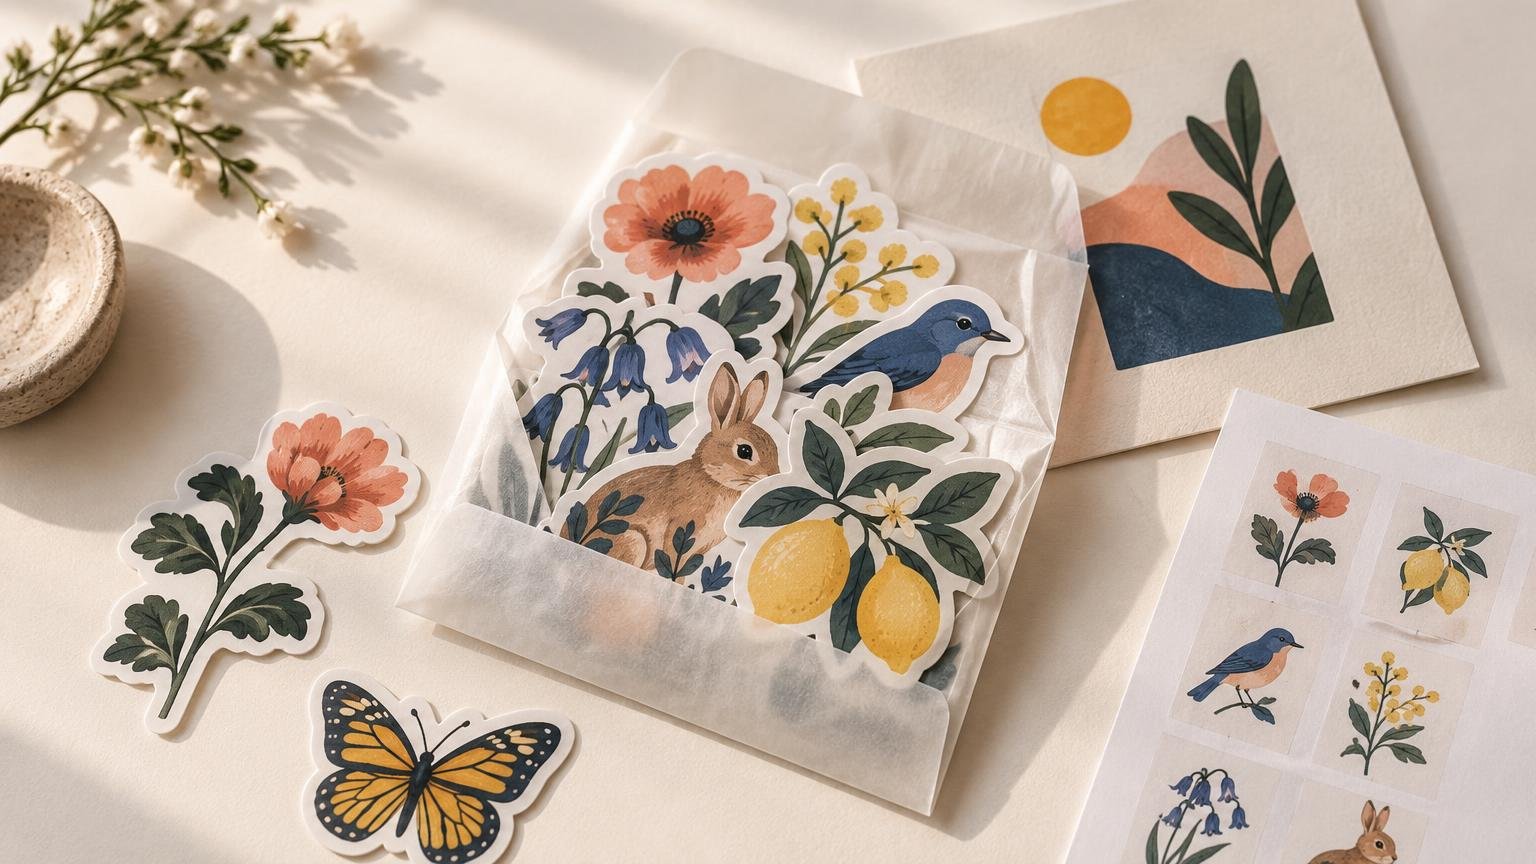
The short version: build the pack as one small collection, not as a handful of unrelated files. Choose three to ten illustrations that share a subject or visual language, size them as a group, prepare each piece for cutting, and proof the stickers and packaging together. The goal is a pack that still feels like your artwork while also reading as a complete product.
Start with a collection buyers can understand
A strong sticker pack usually has an immediate idea: garden creatures, anxious ghosts, miniature food, studio tools or characters from the same illustrated world. A buyer should be able to understand the set in a glance, even when every sticker has a different silhouette.
Begin with more candidates than you need. Place thumbnail versions together and remove designs that feel repetitive, overly detailed or visually disconnected. Keep some variation in scale and shape. One dominant sticker, several medium designs and one or two small accents often produce a more lively pack than five pieces with identical proportions.
Three to ten pieces is a common range for commercially assembled packs, and a pack may contain individual die-cut stickers, a sticker sheet or a mixture of both. Custom sticker pack production can also include clear sleeves and printed header or backer cards, allowing the collection to arrive as one retail-ready unit.
Prepare the artwork before building cut files
Keep your illustration master separate from the production file. The master should retain editable layers, original colors and the highest useful resolution. Make a copy for sizing, cleanup and print preparation. This protects the artwork from permanent edits made only to accommodate a particular sticker size or cut shape.
If the illustrations began on paper, digitize them before thinking about sticker outlines. Small, flat and low-sheen work may scan cleanly, while textured, glossy, oversized or fragile artwork often benefits from photography. Our guide to whether you should scan or photograph original artwork explains that decision in more detail.
For raster artwork, prepare the file at 300 pixels per inch at its final printed size unless your chosen printer specifies otherwise. Vector artwork can be scaled more freely, but embedded textures and raster effects still need enough resolution. One pack-printing service accepts PNG, JPG, PDF, AI and SVG files and recommends vector artwork or 300 ppi raster files at final size.
Design each sticker for its actual printed size
Details that look generous on a monitor can disappear when an illustration becomes a two-inch sticker. Print the designs at their intended dimensions on ordinary paper. View them at arm’s length, then check fine lines, small lettering, dark shadows and narrow gaps between shapes.
Simplification is not a defeat. Slightly thicker lines, clearer separations and less delicate text can make the small reproduction feel more like the original because its important character remains visible. If a feature matters to the expression or story of the piece, make sure it survives the reduction.
Next, decide how each piece should be cut. A die-cut sticker follows the design’s silhouette, commonly with a narrow border around the art. Full-bleed designs may be possible when the artwork can extend beyond the trim. Bleed means extending the printed artwork beyond the final trim boundary so small cutting variations do not leave an unintended unprinted edge. Follow the printer’s required amount rather than guessing; Adobe’s explanation of print bleeds shows how the principle works.
Choose materials and finish as part of the artwork
Treat material and surface finish as visual decisions. Matte laminate tends to quiet reflections and can suit soft color, ink textures and subdued palettes. Gloss gives darker areas and saturated colors a more polished surface. Neither is automatically more faithful; the right choice depends on what gives the illustration its character.
Water resistance can matter for stickers intended for bottles, laptops or other handled objects, but confirm the printer’s exact material and durability claims. For a broader comparison of formats, finishes and test quantities, see our guide to sticker printing options for artists. You can also compare CustomStickers custom vinyl stickers, materials, and artwork preparation when considering how individual designs will be produced.
Make the packaging earn its place
Packaging should explain and protect the collection without overpowering it. A clear sleeve keeps the pieces together, while a folded header card or flat backer card gives you room for the collection name, artist name, price, care notes or a QR code. Some pack services also offer standard or resealable sleeves and round or Euro-style hang holes for retail display.
Build the card as a separate piece of artwork. Check its trim, bleed, type size and orientation independently from the stickers. Leave enough contrast for essential information, and avoid placing small text close to a cut or fold. A beautiful card that hides the stickers is doing too much; let the collection remain the main event.
Use the proof as a production checkpoint
A proof is not merely a chance to approve color. Review the number of pieces, relative sizes, cut shapes, borders, pack layout and card artwork. Confirm that no sticker has been duplicated or omitted and that every design faces the intended direction. When multiple files are uploaded together, some services create cutlines and layouts during proofing, which makes careful approval especially important.
- Print the proof at actual size rather than judging only on screen.
- Check whether narrow projections or interior gaps create fragile shapes.
- Read every line of packaging text, including URLs and prices.
- Confirm matte or gloss finish, sleeve type and hanging option.
- Order a small test quantity when the budget and printer minimum allow it.
Price the complete pack, not just the stickers
Calculate the cost of the stickers, printed card, sleeve, inbound shipping, payment fees and the packaging used to send an order to the buyer. Add compensation for your illustration and preparation time, then leave room for damaged stock, promotions or wholesale pricing if those are part of your plan.
Compare the proposed price with the visual substance of the pack. Piece count matters, but so do sticker size, finish, packaging and the strength of the collection. A tightly edited four-piece set can feel more valuable than a larger assortment padded with weaker designs.
Prepare the listing and fulfillment plan
Photograph the complete pack and show the individual stickers outside the sleeve. Include dimensions, piece count, material, finish and what the buyer receives. If you sell through Etsy, its Creativity Standards permit an original design to be made by a third-party production partner, but the partner must be disclosed and the listing’s shipping-origin information must be accurate.
Only promise a dispatch time you can reasonably meet. For direct internet orders in the United States, the Federal Trade Commission’s merchandise-order rule requires a reasonable basis for the advertised shipment timing, or shipment within 30 days when no time is stated. Sellers unable to ship on time generally must obtain consent to the delay or provide a refund for unshipped merchandise.
Finally, sell only artwork you have the right to reproduce. The U.S. Copyright Office’s guidance for visual artists explains that copyright generally exists when original artwork is fixed in a tangible medium and gives the owner rights that include making, selling and distributing copies. Using another owner’s characters or artwork requires permission.
The best next step is a paper prototype
Before ordering inventory, print the proposed stickers and packaging at actual size, cut them out roughly and assemble one paper pack. Hold it, turn it over and view it from several feet away. If the collection reads clearly, the important details survive reduction and the packaging supports rather than smothers the art, you are ready to request a production proof.
References
- Custom Sticker Packs – YouStickers
- Frequently Asked Questions – YouStickers
- How to add printer’s marks and bleeds in Illustrator | Illustrator
- Etsy's Creativity Standards – Our House Rules | Etsy
- Mail, Internet, or Telephone Order Merchandise Rule | Federal Trade Commission
- What Visual and Graphic Artists Should Know about Copyright | U.S. Copyright Office