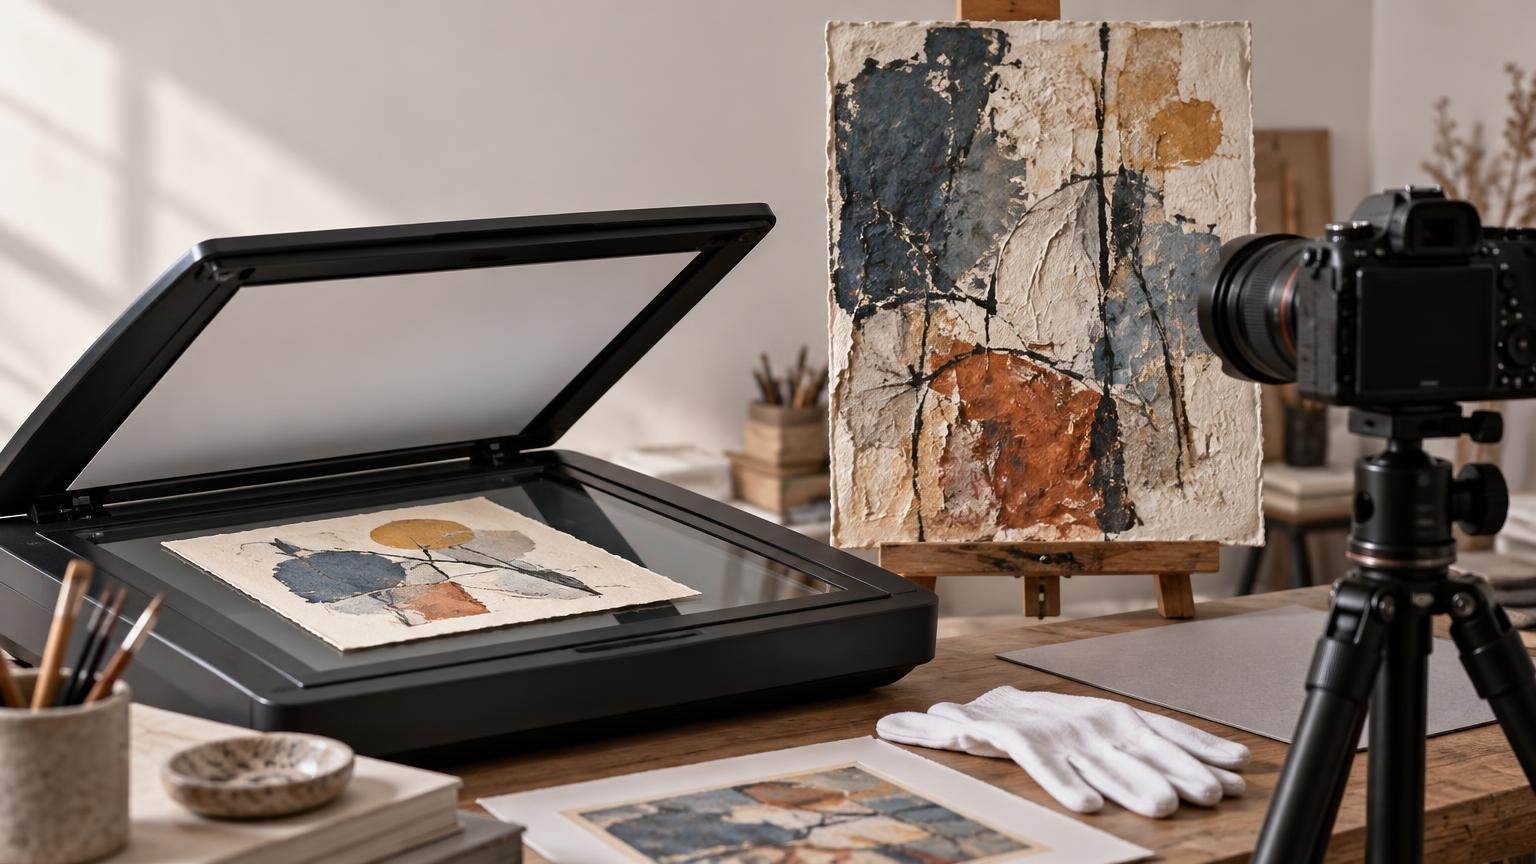
TLDR: Scan artwork that is flat, reasonably small, low in surface sheen, and safe to place face-down. Photograph artwork that is oversized, textured, glossy, framed, dimensional, fragile, or unsafe to flatten. In either case, plan the file around the intended print size and make a physical proof before selling an edition.
If you are asking whether you should you scan or photograph original artwork for prints, begin with the original rather than the equipment. Its size, surface, construction, and condition usually make the decision. A watercolor on smooth paper may be ideal for a flatbed scanner; a varnished oil painting with raised brushwork almost certainly belongs in a controlled photography setup.
Neither method automatically produces a faithful print. Capture is only the first stage. Real image detail, controlled color, careful editing, paper choice, and proofing all affect whether the reproduction still feels like the original.
Should You Scan or Photograph Original Artwork for Prints?
Choose scanning when the original fits fully on the scanner bed, lies naturally flat, has little or no depth, and can safely touch the glass. Scanning is especially practical for drawings, ink work, prints, and many watercolors on unmounted paper. The fixed relationship between the sensor, artwork, and light makes it relatively easy to produce an evenly lit, square image.
Choose photography when the work is too large for the scanner, has visible texture, reflects light, includes raised or dimensional material, remains in a frame, or could be damaged by contact and pressure. Photography requires more control over alignment and lighting, but it lets you capture work without forcing it into an unsuitable position.
| Condition | Usually choose | Why |
|---|---|---|
| Small, flat drawing or watercolor | Scan | A flatbed provides even capture and straightforward alignment. |
| Artwork larger than the scanner bed | Photograph | A single photograph avoids difficult joins and inconsistent stitched sections. |
| Varnished, metallic, or glossy surface | Photograph | Lighting and camera position can be adjusted to manage reflections. |
| Heavy impasto or visible surface relief | Photograph | Directional lighting can preserve the appearance of texture. |
| Framed or permanently mounted work | Photograph | The original does not need to be removed or pressed against glass. |
| Fragile, cracked, flaking, or buckled work | Photograph or use a specialist | Non-contact capture reduces handling and flattening risks. |
| Flat work intended for substantial enlargement | Depends on real captured detail | Use the method that provides enough genuine pixels and sharp detail for the final size. |
Let the Original’s Condition Decide First
Do not trade the safety of an original for a theoretically sharper file. The Library of Congress advises against forcing materials flat or placing glass or Plexiglas over them for flattening because media can crack or detach. It also notes that oversized material requires capture equipment with a bed at least as large as the item. Its preservation guidance for digitizing materials is especially useful when working with delicate or irreplaceable art.
A scanner is therefore suitable only when the work can rest on the bed without stress. Do not close a heavy lid onto thick collage elements, deckled layers, wet-looking paint, pastel, charcoal, or unstable media. Loose media can transfer to the glass, while pressure can alter texture or damage the surface.
If the artwork is damaged, flaking, tightly framed, heavily buckled, or especially valuable, controlled photography or professional digitization is the safer direction. The goal is not simply to obtain a file; it is to obtain one without changing the work being reproduced.
How to Scan Flat Artwork
Before scanning, confirm that the surface is stable and safe to place face-down. Clean the scanner glass according to its manufacturer’s instructions and remove loose dust from the surrounding workspace. Do not brush or wipe unstable media merely to prepare it for capture.
Place the work square to the bed and capture the entire image area, preferably with a small margin around it. Avoid aggressive automatic corrections during the master scan. A neutral, minimally processed master gives you more freedom to correct color, contrast, dust, and cropping later.
- Confirm that the artwork fits completely and can rest flat without force.
- Choose a resolution based on the intended print dimensions, not just the scanner’s highest advertised number.
- Capture a neutral master with no irreversible sharpening or heavy contrast adjustment.
- Save the master before cropping, retouching, or resizing.
- Inspect the image at 100% for softness, clipped highlights, dust, banding, color shifts, and lost pencil or paper detail.
- Create a separate working copy for print preparation.
Scanner resolution and final image quality are not the same thing. Epson explains that 300 DPI can support same-size printing, while a higher scan resolution can provide pixels for enlargement at the cost of larger files and more processing time. It also distinguishes a scanner’s resolution specification from overall image quality. Sharpness, focus, clean glass, stable placement, and the scanner’s ability to describe subtle tones still matter.
How to Photograph Artwork for Reproduction
A good photographic capture begins with geometry. Keep the camera sensor plane parallel to the artwork so that one edge is not farther from the camera than another. Center the lens on the work and use a stable tripod or copy stand. Leave enough room around the artwork for squaring and cropping, but do not make the original so small in the frame that useful detail is discarded.
Lighting should be even across the surface, without obvious bright spots, cast shadows, or reflections. The Federal Agencies Digital Guidelines Initiative recommends capturing reference targets in the same session and under the same conditions as the object. Its guidance also calls for even illumination free from hotspots, shadows, and reflections.
For a repeatable session, include a suitable color or gray reference target in a separate reference frame, then photograph the artwork without the target for the clean master. Keep the camera position, exposure, focus, and lighting unchanged between those frames. This does not make color correction automatic, but it provides a known reference instead of asking you to judge every neutral and color from memory.
- Mount or support the artwork without bending or stressing it.
- Set the camera square and centered relative to the work.
- Stabilize the camera and use even, matched lighting on both sides.
- Check the entire surface for glare, including dark passages where reflections can be easy to miss.
- Capture a reference frame with a color or gray target under the same conditions.
- Correct perspective, white balance, and exposure before detailed retouching.
- Save an unedited master and make print-specific changes on a copy.
Glossy and varnished paintings need particular care because a setup can look even while still recording broad reflections. Move your viewing position around the setup and inspect test files at high magnification. If glare remains difficult to control, specialist art-reproduction photography may be more economical than repeatedly correcting an unsuitable capture.
Plan Resolution from the Final Print Size
A useful planning benchmark for many closely viewed art prints is 300 pixels per inch at the final printed size. It is a benchmark, not a guarantee of quality or a universal rule. Canson Infinity notes that print resolution is usually not over 300 DPI and that lower resolution may be suitable when the viewing distance is greater. In file preparation, PPI is the clearer term because it describes image pixels; printer DPI describes how a printer places ink or toner dots.
Calculate the required pixel dimensions by multiplying each final dimension in inches by the target PPI. A 16 × 20-inch print planned at 300 PPI requires 4,800 × 6,000 pixels. This calculation tells you the file dimensions to aim for, but it cannot reveal whether those pixels contain sharp, genuine detail.
For enlargement from a scan, multiply the final-to-original size ratio by the desired output PPI. If an 8 × 10-inch original will become a 16 × 20-inch print, each dimension doubles. Scanning at approximately 600 PPI supplies enough pixels for 300 PPI at twice the linear size: the 8-inch side becomes 4,800 pixels, and the 10-inch side becomes 6,000 pixels.
Do not assume that selecting an extremely high scan setting or enlarging a camera file creates more real brush, pencil, or paper detail. Interpolation can add pixels, but it cannot recover information that the capture never resolved. Inspect fine lines, wash transitions, canvas texture, and edges at 100% before approving an enlargement.
Color Management Comes After Capture
A scan or photograph can look convincing on one screen and still print differently. Adobe explains that color profiles describe how devices and media—including cameras, scanners, monitors, printers, and papers—reproduce color. It also notes that some RGB colors cannot be reproduced in CMYK. That is why a bright screen image is not itself proof that the print will match.
Keep an embedded color profile in the working file rather than leaving the color meaning undefined. Avoid making repeated conversions between color spaces without a reason. If a print provider supplies file requirements or a paper-and-printer profile, follow those instructions for the output copy while retaining your original master.
Paper also changes the reproduction. A glossy or satin surface can increase the appearance of contrast and saturation, while a textured matte sheet may soften tiny details or visually echo traditional media. Use the intended image, size, and viewing conditions when choosing among matte, glossy, and textured paper for art prints.
Make a Proof Before Committing to an Edition
The proof is where capture, editing, color, printer, ink, and paper finally meet. Make one print at the intended size and on the intended paper whenever practical. A reduced proof may reveal general color problems, but it cannot fully show whether fine lines, texture, or sharpening will hold at the sale size.
Compare the proof beside the original under steady, neutral-looking illumination. Look at relationships rather than chasing an impossible glow from the screen: Are pale washes still separated? Are dark passages blocked together? Does the paper texture overpower fine marks? Has sharpening made pencil lines brittle? Does the reproduction retain the visual weight of the original?
- Check neutral grays and whites for an unwanted color cast.
- Compare highlight and shadow detail, not only overall brightness.
- Inspect fine marks and texture from the expected viewing distance.
- Decide whether the paper supports or competes with the artwork.
- Record the printer, paper, profile, file version, size, and adjustment notes.
- Revise the working file, then proof again if the changes are substantial.
What About Stitched Scans and Phone Photos?
Several overlapping scans can be stitched when flat artwork is slightly larger than the scanner, but the method introduces extra work. Every section must retain consistent focus, exposure, color, and alignment. Paper that lifts from the glass or textured media lit from changing positions can create visible seams. For a substantially oversized work, one controlled photograph is usually the cleaner starting point.
A phone can be useful for catalog records, online previews, and test captures. Whether it can produce a print master depends on the final size, lighting, lens behavior, processing, stability, and the genuine detail in the file—not on the phone label alone. Evaluate the file at its required output dimensions and make a proof rather than assuming it is either adequate or inadequate.
The Practical Choice
Scan a small, flat, stable, low-sheen original when it fits the bed and can make safe contact with the scanner. Photograph anything oversized, framed, glossy, textured, dimensional, buckled, or fragile. When either method could work, choose the one that captures enough real detail with the least risk to the artwork and the fewest corrective steps.
Then make one physical proof. Compare it with the original, revise color and tonal relationships, reconsider the paper if necessary, and document the approved settings. The right capture method gives you a strong file; the proof tells you whether that file has become a print that still feels like the work.
References
- Preservation Guidelines for Digitizing Library Materials – Collections Care (Preservation, Library of Congress)
- faq-00009d0-exp13000xl | SPT_B11B257201 | Epson Expression 13000XL | Expression Series | Scanners | Support | Epson US
- – Target images should be captured during the same session and under the exact same conditions as the images of the object.
- What is the image resolution ? | Canson Infinity
- Color profiles in Photoshop | Photoshop
- Identify and correct out-of-gamut colors in Photoshop on desktop | Photoshop