
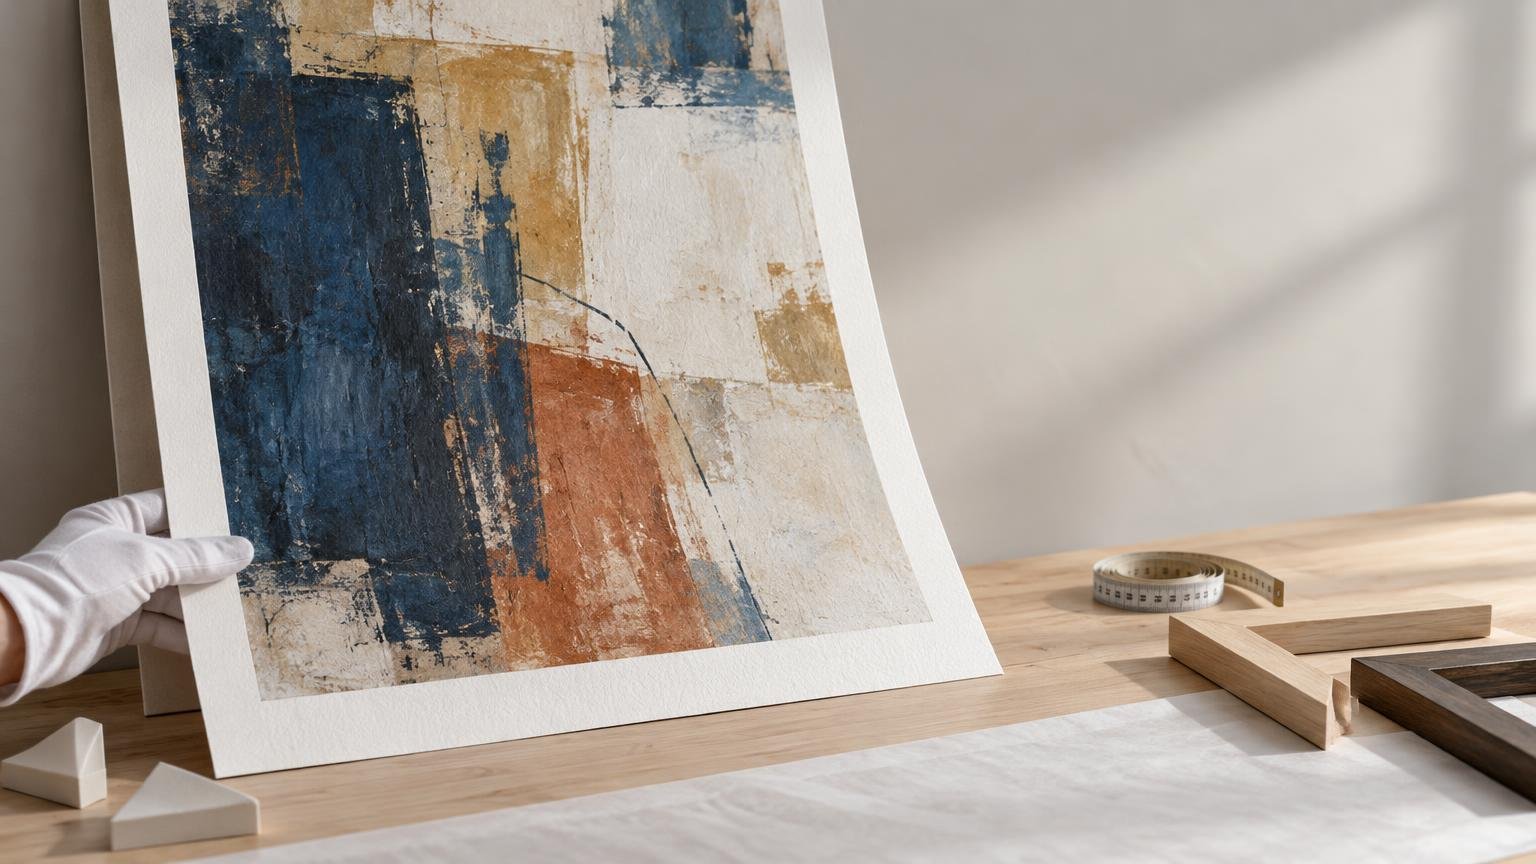
Large-format printing changes more than the dimensions of an art print. It moves decisions about capture, resolution, material, finishing, transport and installation much earlier in the workflow. A file that produces a convincing small print can reveal soft detail, uneven lighting, stitching errors or weak edge treatment when enlarged across a wall.
The practical shift is simple: design backward from the installed print. Establish the final dimensions, viewing distance, substrate, finishing method and display environment before completing the reproduction file. That gives every later decision a real target.
TLDR: Plan the installed object, not merely a bigger image
- Choose a safe capture method for the original before thinking about enlargement.
- Evaluate raster resolution at the final printed dimensions and expected viewing distance.
- Build bleed, safe areas, seams, wraps, mounts and hardware into the file plan.
- Select the material and output condition before making final color judgments.
- Proof critical details at full scale, even when a complete full-size proof is impractical.
- Plan handling, packaging and installation while the print is still being designed.
Oversized reproduction starts with the original
A large original may not fit safely on a conventional flatbed scanner. Fragile paper, textured work, framed pieces and dimensional surfaces can also make direct scanning unsuitable. The Library of Congress advises choosing digitization equipment that accommodates an item without risking damage and says sheet-feed equipment is inappropriate for fragile paper, fine art, drawings and graphic prints. Its guidance on imaging equipment is a useful starting point when the original itself is difficult to handle.
The practical options include one-shot photographic capture, linear scanning, or several overlapping captures assembled into one image. FADGI identifies all three approaches for oversized material. Stitching can overcome size and resolution limits, but inconsistent lighting, camera position, focus or overlap can introduce visible transitions and geometric distortion. Very large, high-resolution captures may also become too large for a single TIFF workflow. FADGI’s technical guidance for oversized originals explains these constraints in detail.
Choose the method around the artwork rather than the equipment you happen to own. A single controlled photograph can be cleaner than a poorly stitched scan. Multiple captures can preserve more detail when the camera, artwork and lighting remain fixed. For a fuller method comparison, see when to scan or photograph original artwork.
Final size becomes the reference point for resolution
Pixel dimensions alone do not tell you whether an image is suitable for a large-format print. Evaluate effective resolution after the artwork has been placed at its intended output size. The useful requirement depends on the print process, material, image content and viewing distance, so one universal PPI target does not fit every large-format job.
This is where oversized art separates into two visual systems. Vector type, logos and geometric shapes can scale without the same resolution limits as raster images. Painted texture, photographed artwork and bitmap effects cannot. Enlarging them spreads the available pixels over a greater area.
Viewing distance changes what matters. A wall print examined from arm’s length needs more convincing fine detail than a display designed to be read from across a room. Even so, distance should not become an excuse for careless files. Important signatures, small lettering, facial features and fine linework deserve inspection at their actual printed scale.
The file must describe the finished construction
For a small unframed print, file geometry may be little more than trim size and bleed. Large-format products introduce more ways for the image to be cut, wrapped, divided or obscured. A canvas may need image area around deep stretcher bars. A mounted panel may lose content near trimmed edges. A mural may cross several drops. A display can place hardware, pockets or structural elements near the artwork.
Before exporting, confirm the final size, trim path, bleed, safe area, orientation and finishing template with the producer. Adobe’s commercial-print guidance calls for checking links, fonts, bleed, margins, print colors and preflight errors before PDF delivery. Acrobat Preflight can flag concerns involving resolution, fonts, transparency, ink coverage, color and PDF compatibility. Adobe’s print-ready PDF guidance provides a practical preflight framework.
| Production format | File issue to resolve early | What to inspect |
|---|---|---|
| Paper or photo print | Trim, border and mounting allowance | Fine detail, edge placement and glare |
| Wrapped canvas | Wrap depth and edge treatment | Whether key content crosses the sides |
| Rigid panel | Trim tolerance and mounting position | Corners, edge chips and hardware clearance |
| Tiled mural or display | Panel divisions and overlap | Seams through faces, text or focal details |
| Fabric graphic | Finishing and structural zones | Distortion, folds and blocked content |
Tiling is a production choice, not merely an export setting. InDesign and Acrobat can divide an oversized design into printable rectangles with overlap for trimming and assembly. That approach creates seams and alignment work that do not exist when a provider prints the image as one piece on wide roll media or a large sheet.
Material choice becomes part of the image
At large scale, the print surface occupies more of the viewer’s field of vision. Texture, sheen and stiffness become conspicuous. A toothy paper can support drawings and traditional-media reproductions, but it may soften tiny photographed details. A glossy surface can deepen visual contrast while reflecting windows and display lighting. Canvas gives the image physical presence, although its texture and wrapped construction change how detail and edges read.
Hahnemühle identifies surface structure, color gamut, density, opacity and tactile feel as significant fine-art paper characteristics. It also notes that papers above 300 g/m² can suit large artistic reproductions when the original was made on strong paper. Weight alone, however, does not decide the result. Rigidity, mounting, printer compatibility and the intended display method matter too.
Compare canvas and fine-art paper by the character of the original and the finished display, not by size alone. The overview of oversized wall-art and poster formats also helps clarify differences among posters, framed prints, canvas and enlarged photographs before requesting production.
Color decisions need a defined output condition
A generic screen-to-print conversion is particularly risky at large scale because broad gradients, dark passages and neutral areas become visually dominant. The working question is not simply whether the monitor looks pleasing. It is how the image will print on a specific material with a particular printer, ink setup and media configuration.
Epson’s documentation shows that media settings can encompass an ICC profile, printer resolution, pass count, platen gap and feed tension. Adobe’s Output Preview can assist with separation preview, soft proofing and color warnings. Together, these tools illustrate why the material and print configuration should be identified before final color correction.
Finishing, transport and installation belong in prepress
An oversized print is a physical object with a route through doors, vehicles, frames and installation hardware. That route can determine whether the work should ship flat, rolled, mounted, framed, divided into panels or assembled on site. Resolve these questions before approving the file, because they can alter dimensions, seam positions and edge treatment.
For works on paper, the Library of Congress recommends supportive enclosures and flat or rolled storage, clean handling, and avoiding folds, clips and tape. Its guidance for oversized photographic prints also discusses folders, interleaving, sleeves, map drawers and the risk that some images may crack when unrolled. The Library of Congress care guidance is useful when planning storage beyond the delivery day.
Shipping protection must match the print’s structure and surface. An unmounted paper print needs protection from scuffs, moisture and crushing as well as bending. A rigid board needs edge and corner protection. Framed work introduces glazing, hardware and additional weight. The method in our guide to packaging art prints without bends or scuffs can be adapted once the finished format is known.
A dependable large-format workflow
- Define the installed dimensions, viewing distance and display environment.
- Choose the substrate, construction and finishing method.
- Capture the original safely at a quality appropriate to the final size.
- Correct geometry, assemble stitched captures where necessary and clean the master image non-destructively.
- Build the production document at an agreed scale and verify effective raster resolution.
- Add the provider’s bleed, safe-area, seam, wrap and hardware allowances.
- Prepare color for the identified material and output configuration.
- Print representative details at full scale and review the overall composition separately.
- Package the final production file with the correct fonts, links or embedded assets, then run preflight.
- Approve production only after confirming transport, storage and installation requirements.
If the project grows into related custom-print products, Printiverse provides a broader place to explore print-production formats and topics. Keep the specification for each product separate: a wall print, fabric display and rigid sign may use the same artwork, but they do not share an identical production file.
The final check: does the scale still serve the artwork?
Large format can make an image immersive, but enlargement is not automatically an improvement. Step back to judge composition, then move close enough to inspect the details a viewer will actually encounter. Check whether brushwork remains alive, dark areas retain separation, gradients stay smooth and important marks avoid seams or wrapped edges.
The strongest oversized print is planned as a finished object from the beginning. Decide where it will live, how it will be viewed and what it will be printed on. Then let those answers control capture, file preparation, proofing and handling. That is how scale adds presence without stripping away the character of the original.
References
- Research Guides: Preservation Actions for Collection Digitization : Review of Imaging Equipment
- Oversize Items: Maps, Posters, and Other Materials with Challenging Features That Will Benefit from High Resolution Reproduction
- # PREPARING YOUR ARTWORK FOR LARGE FORMAT PRINTING
- Produce print-ready PDF files in InDesign
- Print production tools overview in Acrobat Pro
- Tile documents for printing in InDesign
- Paper Quality Parameters – Digital FineArt
- Wall Art & Posters – bigprintworld.com
- Registering Media Settings
- Care, Handling and Storage of Works on Paper – Collections Care (Preservation, Library of Congress)